The perfect hopper
Recording recipes for Sri Lanka by Ish really started its life as a way of getting my mother’s everyday cooking out of her head and onto the page. It has been largely a selfish exercise on my part, driven by the unbearable thought that one day I may never taste her food again. I know, I know, the sensible thing would have been to learn how to cook like her over the years, but her culinary prowess stifled my aspirations and then laziness crept in. So simply distilling and publishing her tried and true methods was my easy way out. That was until of course life delivered me a Sri Lankan hopper-sized curveball.
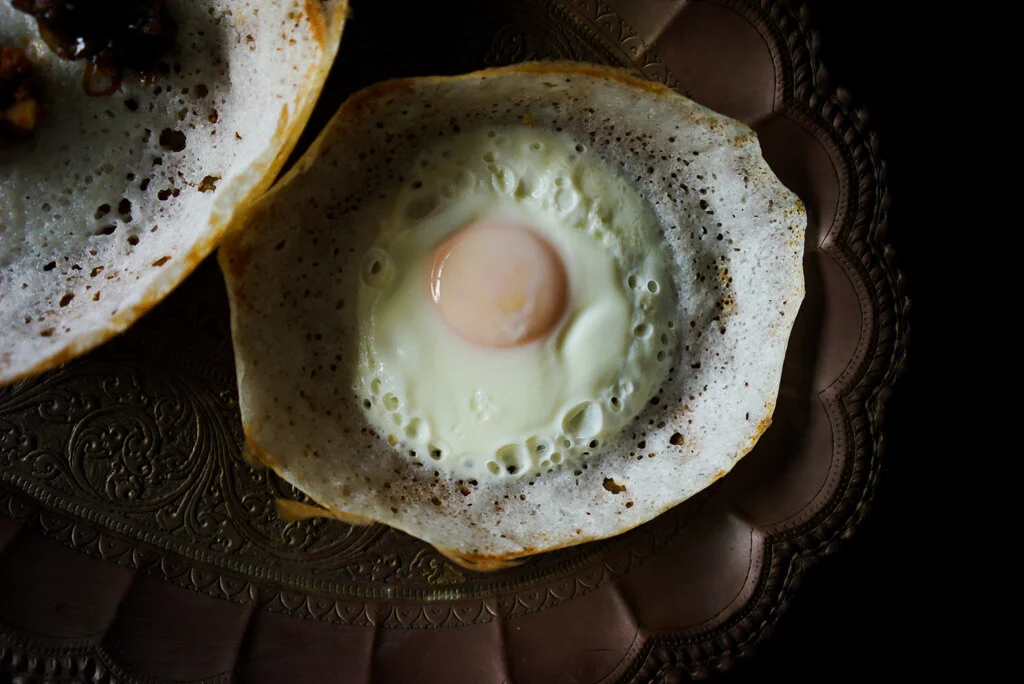
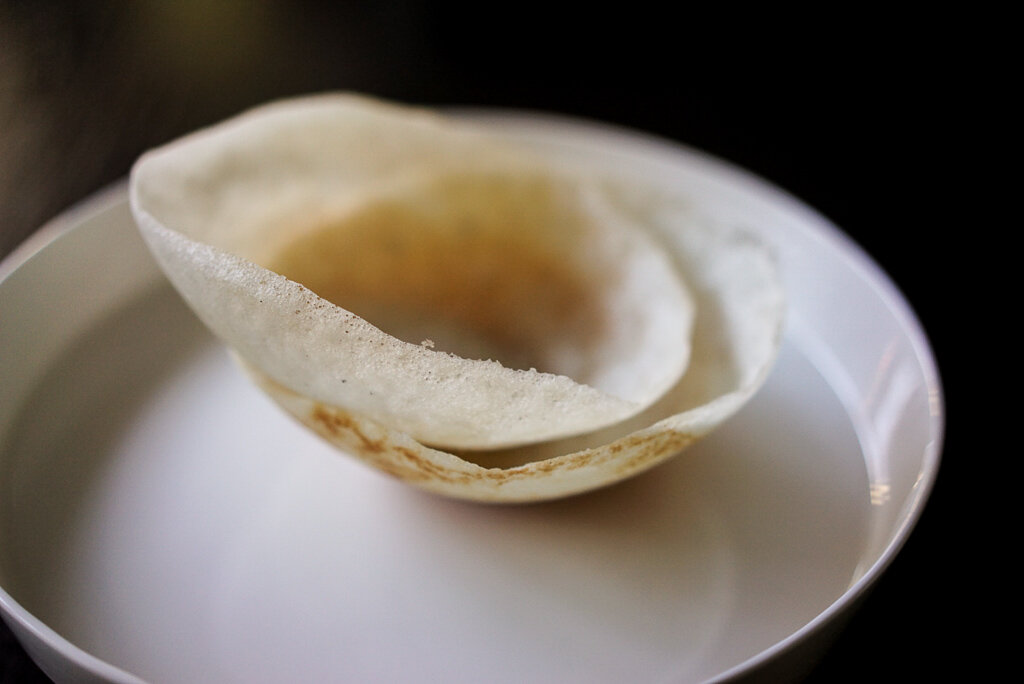
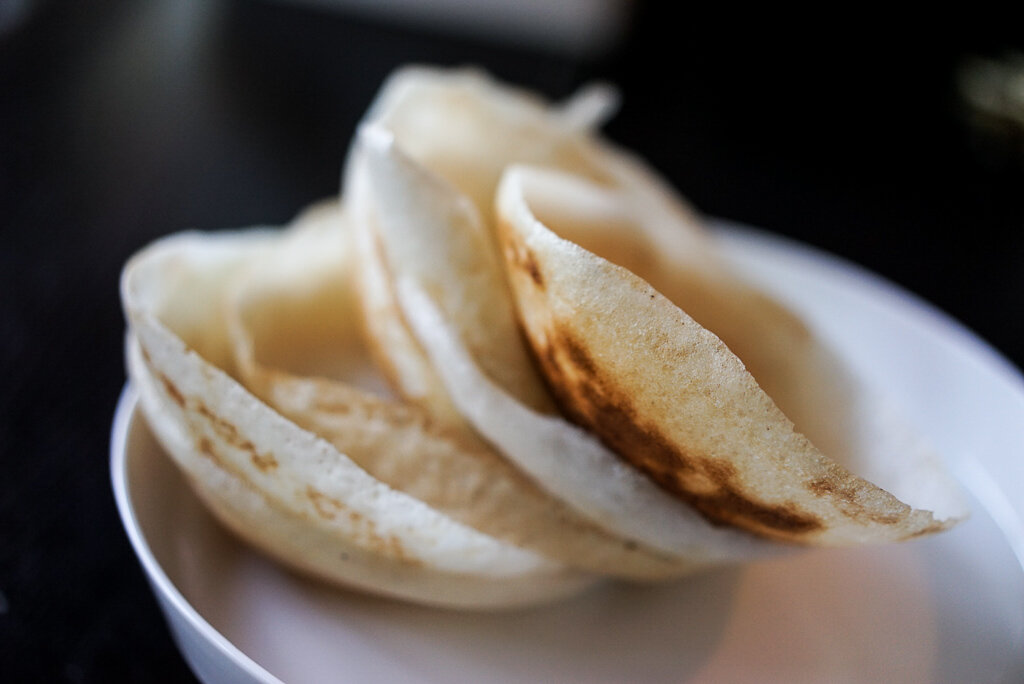
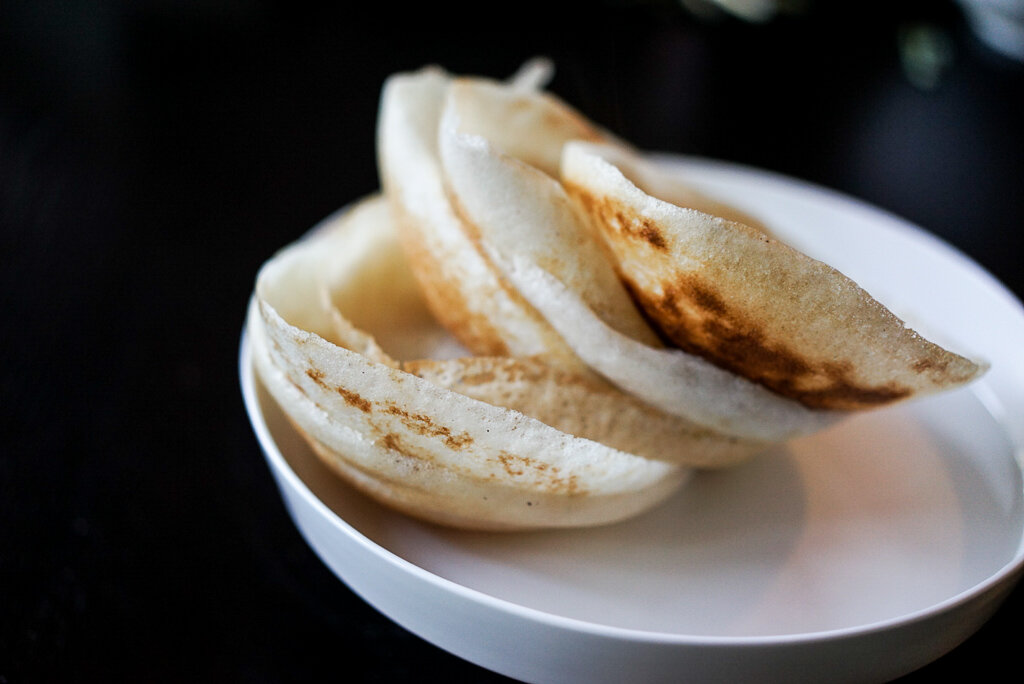
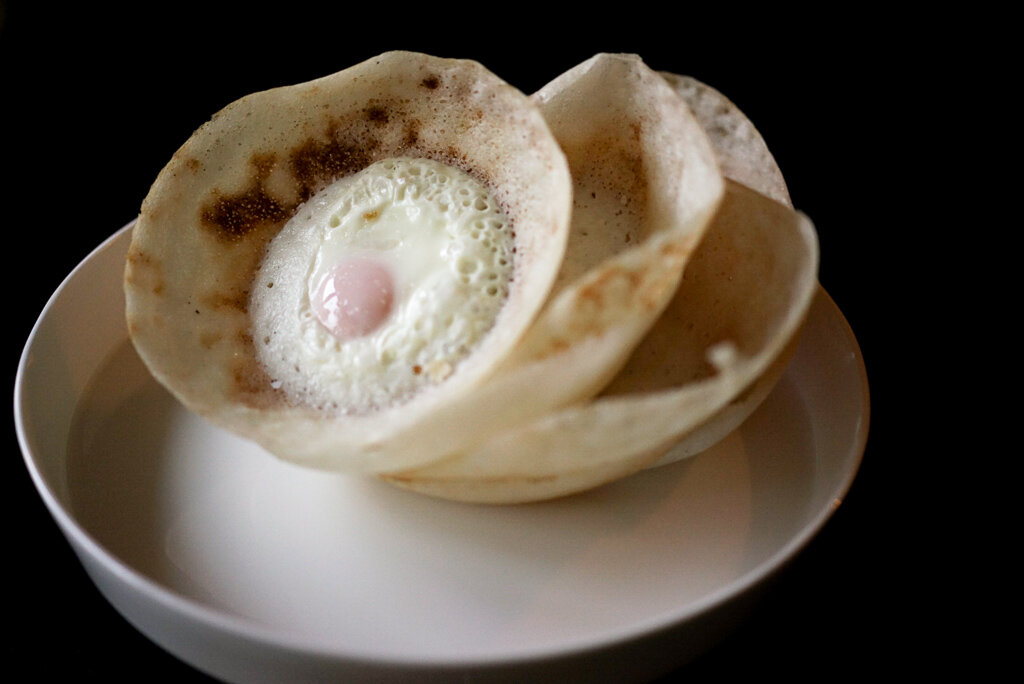
For the uninitiated, hoppers are best thought of as a fermented, rice pancake. Except that it looks nothing like a pancake, and it has truckloads more character. The hopper batter is cooked in a mini wok-like pan giving the hopper the quaint structure of a bowl which could fit neatly in the palm of your hand. The crispy upper perimeter of the bowl gradually crowns a soft, crumpet-like eye at its centre. Crack an egg onto that centre and allow the egg to gently steam to a thick custard-like consistency whilst the pancake crust forms and you’ve served yourself a meal. It’s the imprecise ratio of crust to crumpet which is the hallmark of a satisfying hopper and this curry-mopping delicacy has become a calling card for Sri Lankan food.
The apparent simplicity of the humble hopper with few ingredients and short cooking times (outside the fermentation process) made it ideal fodder for me for a quick and easy recipe blog post. Or so I thought. I soon found the fly in the ointment or, in my case, in the hopper batter. My mother never actually had a recipe for the perfect hopper, either inside her head or in her chaotic back-of-a-used-envelope note system.
You see, for as long as I can remember, my mother has herself been on the hunt for the perfect hopper recipe. From “Hopper Nights” at friends’ places to Sri Lankan food festivals held at community centres, the quest to unearth the easiest and tastiest hopper recipe never abated. I didn’t quite understand it back then. I mean, each of her hoppers, born of yet another aunty’s secret formula, were delicious so what was the point?! But hoppers are no ordinary pancake and my mother is no ordinary cook. My mother subconsciously knew that hoppers are the magic of ethnic diversity in Sri Lanka and the secret to its manufacture are held by many.
Whilst Sri Lanka has become synonymous with the hopper, it is almost impossible to say definitively where the hopper began its life. If language is any clue, the majority Sinhalese Sri Lankans know the hopper by the word appa (pronounced “arp-peh”) which probably derives from the Tamil Sri Lankan word appam (pronounced “arp-pem”) which in turn is also the name given to it in parts of South India like Kerala and Tamil Nadu. I’ve heard that the hoppers of Kerala look identical to those found in Sri Lanka. To add to this, the southern states of India are also where one of the main ingredients of the hopper, coconut, is traditionally cultivated. And I am willing to bet that the name appam was originally derived from an ancient Sanskrit word “apupa” meaning “cake of flour”. Trade, colonialism and migration likely exported this South Indian treat to Sri Lanka, Indonesia (known there as kue apem) and even Burma (known there as arpone).
It then took the English colonialists in Sri Lanka to hack the pronunciation of the word appa and anglicise it the catchy hopper, paving the way for it to be easily introduced by the Sri Lankan diaspora to the English-speaking world (once you hear the term “hopper” in reference to food, you don’t forget it, right?). The hopper’s instagrammable good looks have subsequently been beamed from Sri Lanka’s sunny beaches, firmly entrenching it in the catalogue of uniquely Sri Lankan food.
Hoppers are now churned out as on-demand food, however, my mother recalls a time when eating hoppers (usually at breakfast) was a real treat. The labour traditionally required to finely mill the rice, extract the flesh and milk from a coconut and then the time needed to ferment the batter would make the process of hopper-making outside the reach of ordinary households on a day-to-day basis. On the occasion when the treat was allowed, my mother and her siblings would hang out the front of their house in the morning for the roaming street vendor who balanced a large coconut husk-thatched vat on his head piled with cooked breakfast goodies including hoppers, which had been made fresh from an overnight fermented batter.
In a country where long distances were once traversed over Sri Lanka’s mountainous backbone in bullock carts (the road trains of yesteryear), sometimes with pilgrims on board to holy sites, hoppers cooked by roadside vendors were available as the evening descended on that long road trip. As a young girl, my mother recalls concave hopper pans crackling above a fire fuelled by coconut fibres on the road to Kataragama, a Hindu holy site frequented by many Sri Lankan Buddhists. She also saw such cooking innovations as the hopper batter being swirled inside a hopper pan which was then crisped by inserting that pan into a large ceramic pot filled with glowing coals.
Each village it seems had perfected its own method of preparing a delectable hopper for the weary night-traveller. They served those hoppers with a scoop of lunu-miris (a maldive fish-based chilli paste) or seeni sambol (a sweet and spicy, caramelised onion) or even a small block of jaggery at its centre and always with a cup of hot black tea in preparation for the journey ahead into the night. How civilised.
My own journey of finding the definitive hopper recipe for this post was however starting to look like an exercise in futility. Each recipe I looked at or tried had a small twist. Sometimes that twist was influenced by the availability of the leavening agent (yeast, toddy or even beer), or it was a question of speed to table (using rice flour instead of starting from scratch with rice) and other times it was simply to get the right finish on your hoppers e.g. a brown, crispy crust (by adding some more sugar to your batter). All these were good in their own way, but none seemed perfect to me.
Perhaps the most understated “swing factor” in all these recipes is your local environment. The warmer your kitchen is, the quicker your hopper batter will rise to the requisite volume, no matter what your “special recipe” is.
My advice is to pick any hopper recipe that tickles your fancy and just stick to that recipe. All recipes contain variations on the five basic ingredients – rice, coconut, yeast, sugar and salt – so it’s hard to go wrong. Have fun experimenting first by trying several batches over time and making changes along the way. By varying the fermentation times based on the ambient temperature in your kitchen to get a gorgeous fungal bloom, you’ll get the right lightness in the final texture of your hopper. Adjusting the cooking times achieves not only a good looking, browned hopper but one that won’t become a “flopper” as soon as it’s left the pan. And then back solve for taste – it should be slightly milky (perhaps use more coconut milk than water or even increase the salt) and not too sweet (go lighter on the sugar). In this process you’ll also get acquainted with the art of swirling a hopper pan with batter to achieve a hopper that looks like, well, a hopper (trust me, this is a skill). It’s probably not what you wanted to hear but it will give you exactly what you came here for: the perfect hopper.
Sri lankan hoppers
Here is my version of an excellent hopper recipe, containing some adjustments from that version given to my mother from one of her Tamil Sri Lankan friends. This recipe is not quick, but it is easy and with some planning you will be able to time the making of it to perfection for any dinner. You need to start the process of making the hoppers the day before because this recipe starts from scratch using uncooked (raw) rice instead of milled rice flour. However, you will be rewarded with a more textured crumpet crumb in the finished product and, I think, a better overall taste. It really is worth it.
ingredients
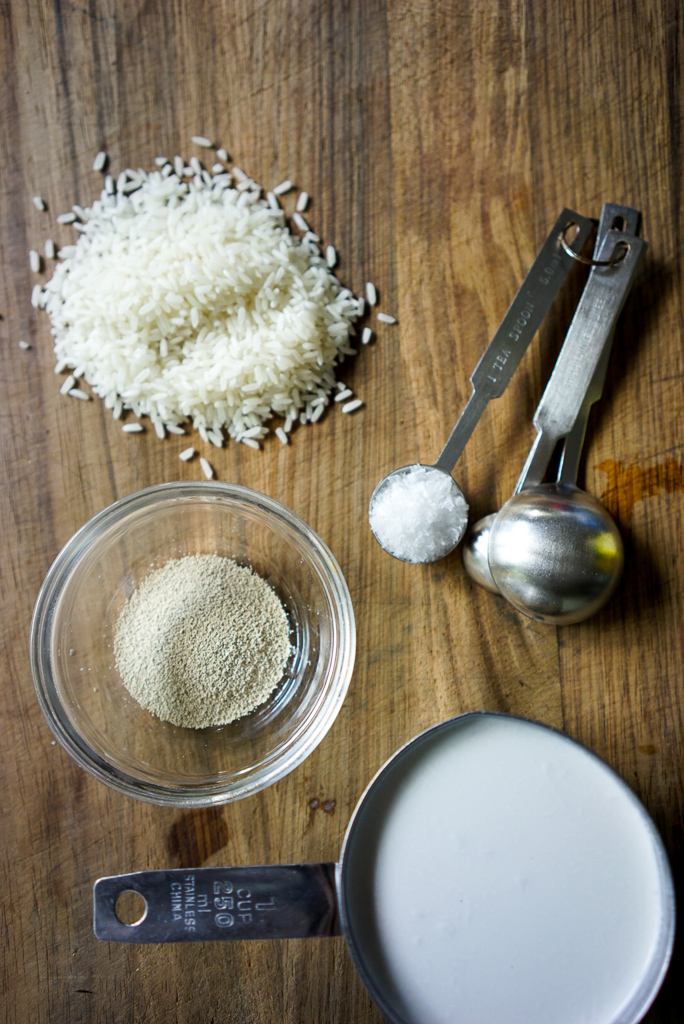
2 cups of uncooked (raw) white rice
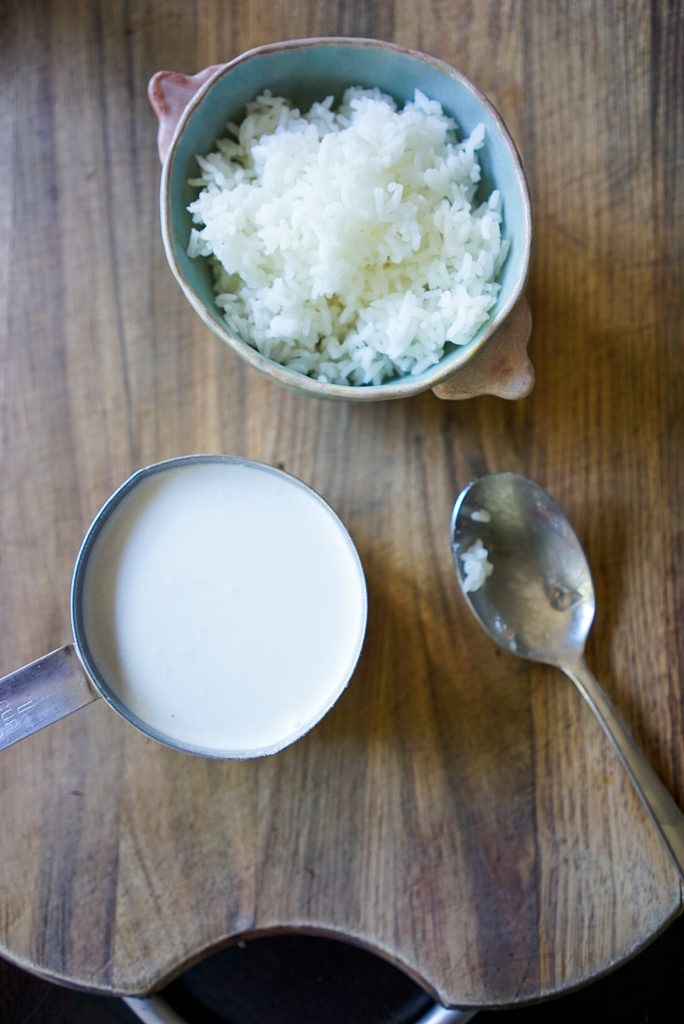
1 cup of cooked white rice
1 cup of freshly grated coconut
Yeast mixture:
½ cup of lukewarm water
½ teaspoon of yeast
1 tablespoon of white caster sugar
2 teaspoons of finely ground salt
1 cup of lukewarm water
½ cup of coconut milk (plus extra if needed for correct consistency)
2½ tablespoons of white caster sugar
Sesame oil for seasoning the hopper pan
Eggs for egg hoppers (optional)
instructions
The day before, soak the two cups of uncooked (raw) rice in enough water for at least 5 hours (or overnight).
Just before you are ready to process the rice, prepare the yeast mixture by stirring together together the yeast and sugar in the lukewarm water and set aside.
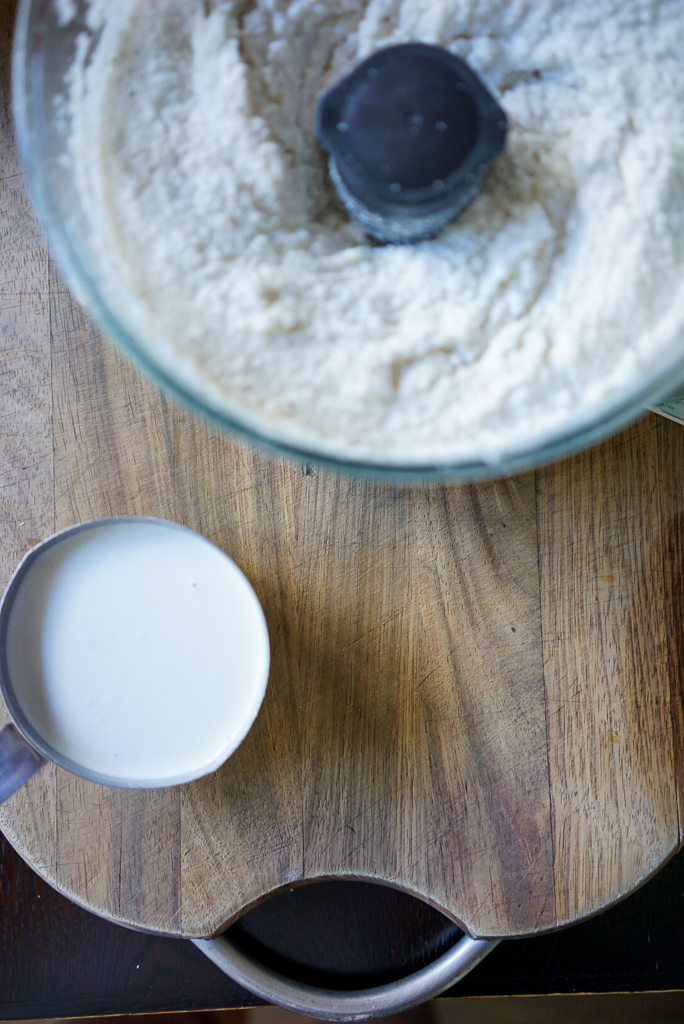
In a food processor, process the cooked rice, grated coconut and yeast mixture until thoroughly blended.
Drain the soaked rice of its soaking water.
Place the drained, soaked rice and salt into the food processor containing the cooked rice and coconut yeast mixture and blend.
Whilst the mixture in the food processor continues to blend, add the lukewarm water a little at a time until the whole cup of water has been added. Keep processing until you get a smooth batter, which may take about up to 10 mins.
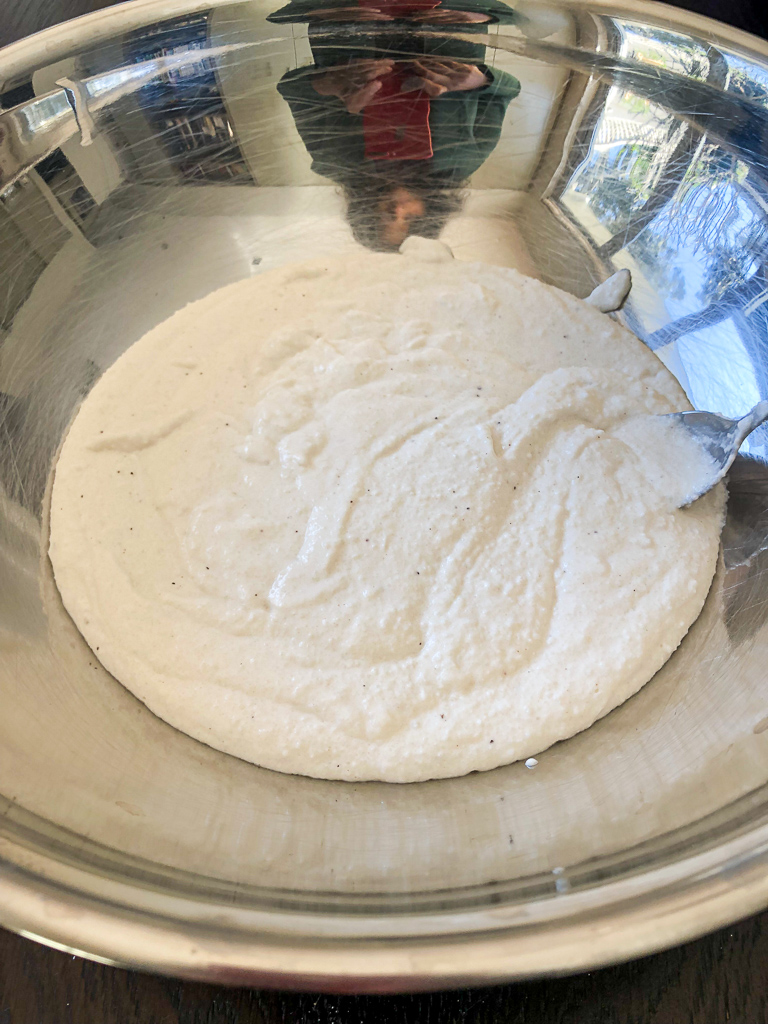
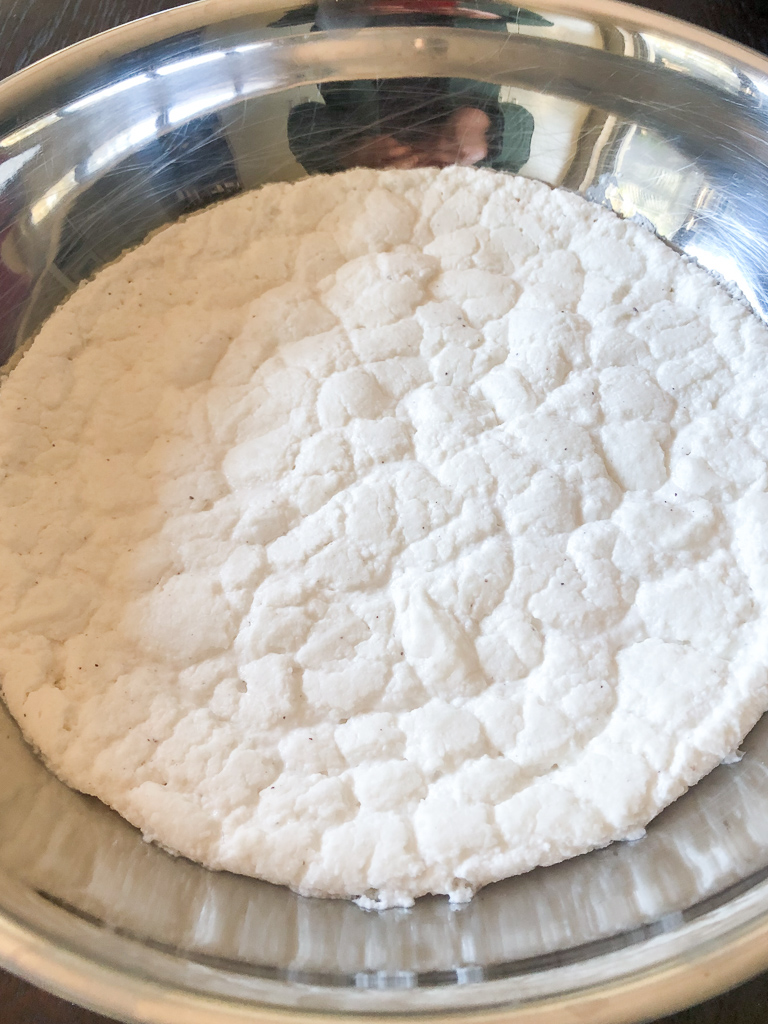
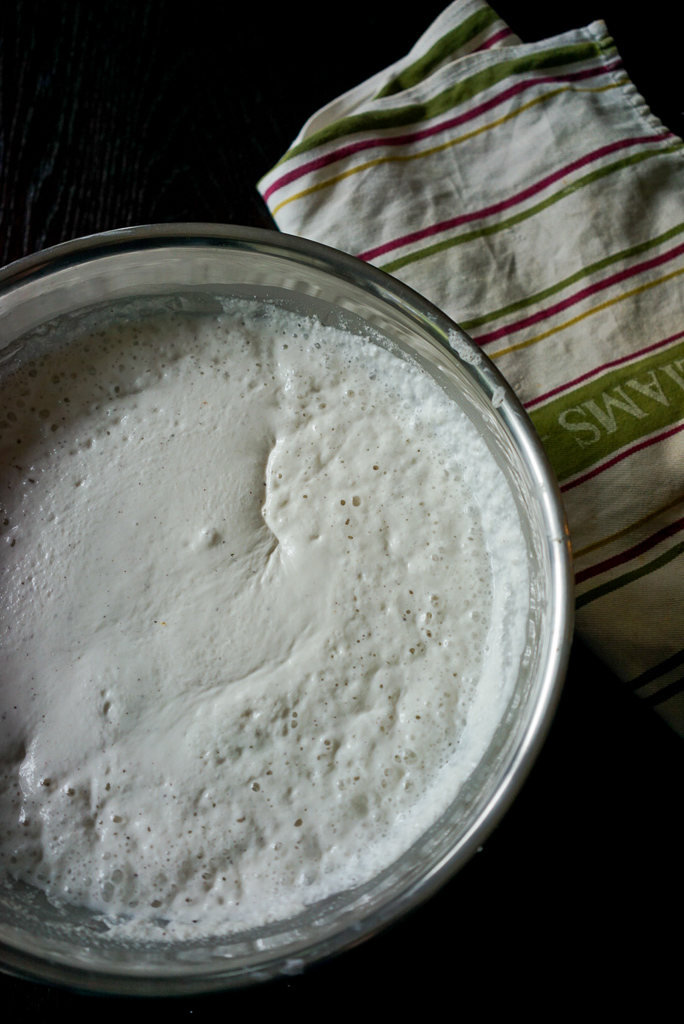
Transfer the smooth batter into a large bowl, loosely covering it with a tea towel, and leave in a warm place to ferment for 8 hours*. The batter will have bloomed to about 3 times its original size
When you are ready to cook the hoppers, stir enough coconut milk into the fermented batter make it the consistency of pancake batter (and not too thin consistency). Finally add the sugar and stir.
If your hopper pan** is a conventional metal one (i.e. not a non-stick pan), you will need to season it first so that the hoppers don’t stick to it once they are cooked.
Heat the hopper pan on a medium-high heat until you can feel that heat penetrating through the middle of the pan.
Dab a scrunched paper towel with a little sesame oil and wipe around the inside of the pan to place a thin layer of oil on it. You will need to wipe the pan this way and keep it oiled before each time addition of the batter.
Hold the hopper pan with your left hand. Using a soup ladle with your right hand, scoop the batter into the ladle and pour it into the near centre of the hopper pan. Lift the hopper pan off the stove and swirl it around so that the batter covers the pan***. Once you have done this, place the pan back on the stove and cover the hopper pan with its lid to cook.
Cook the hopper for about 2.5 to 3 mins on medium-high to allow the bowl structure of the hopper to form. Reduce the temperature of the stove to medium and cook for another minute this gives time for the final steaming of the centre without burning the overall hopper.
Once cooked^ the hopper should slide out of the hopper pan almost without any assistance.
If you’re making egg hoppers, simply crack an egg into the centre of the swirled batter (use slightly less than a ladle spoonful) in the pan and season with salt and pepper before placing the lid on. Cook for about 4 mins on medium-high and turn down to medium for another minute (or until the egg has just become white / set on its whole surface).
Notes
* Ideally, fermentation conditions should be around 30 degrees Celsius. Sometimes I place the batter near a warm stove or even near a sunny window to achieve this, in which case the fermentation can happen in about 5 or 6 hours and you should be ready to go.
** Hopper pans are now readily available online. If you’re planning to make this for a dinner party, I would buy two pans to speed up the overall cooking time of getting your hoppers to the table.
*** Don’t be afraid to swirl two or three times to get adequate coverage. There is usually excess batter which will naturally come to rest in the centre of the structure once you’re done swirling and it will puff into the crumpet-like middle once the batter is cooked. If not, pour a tablespoon or so of the batter onto that centre before placing the lid onto cook.
^ When the hopper is cooked, the thinner parts of the hopper should have a brown hue on it and the perimeter of the hopper will already be visibly separated from pan.
